De-Great Yartey
Lead Experience Developer
Last updated yesterdayExploring the Admin Dashboard
A primer on handling and running your online shop's site.
The admin dashboard is where you have total control over your online shop. From here, you can have an overview on your business progress like site visits, product/category views and sales, etc. You can also manage your products/inventory, view orders, set discount codes, edit site content and so much more. In this article, we will take you through these features briefly. You will find in-depth content on each feature in other posts.
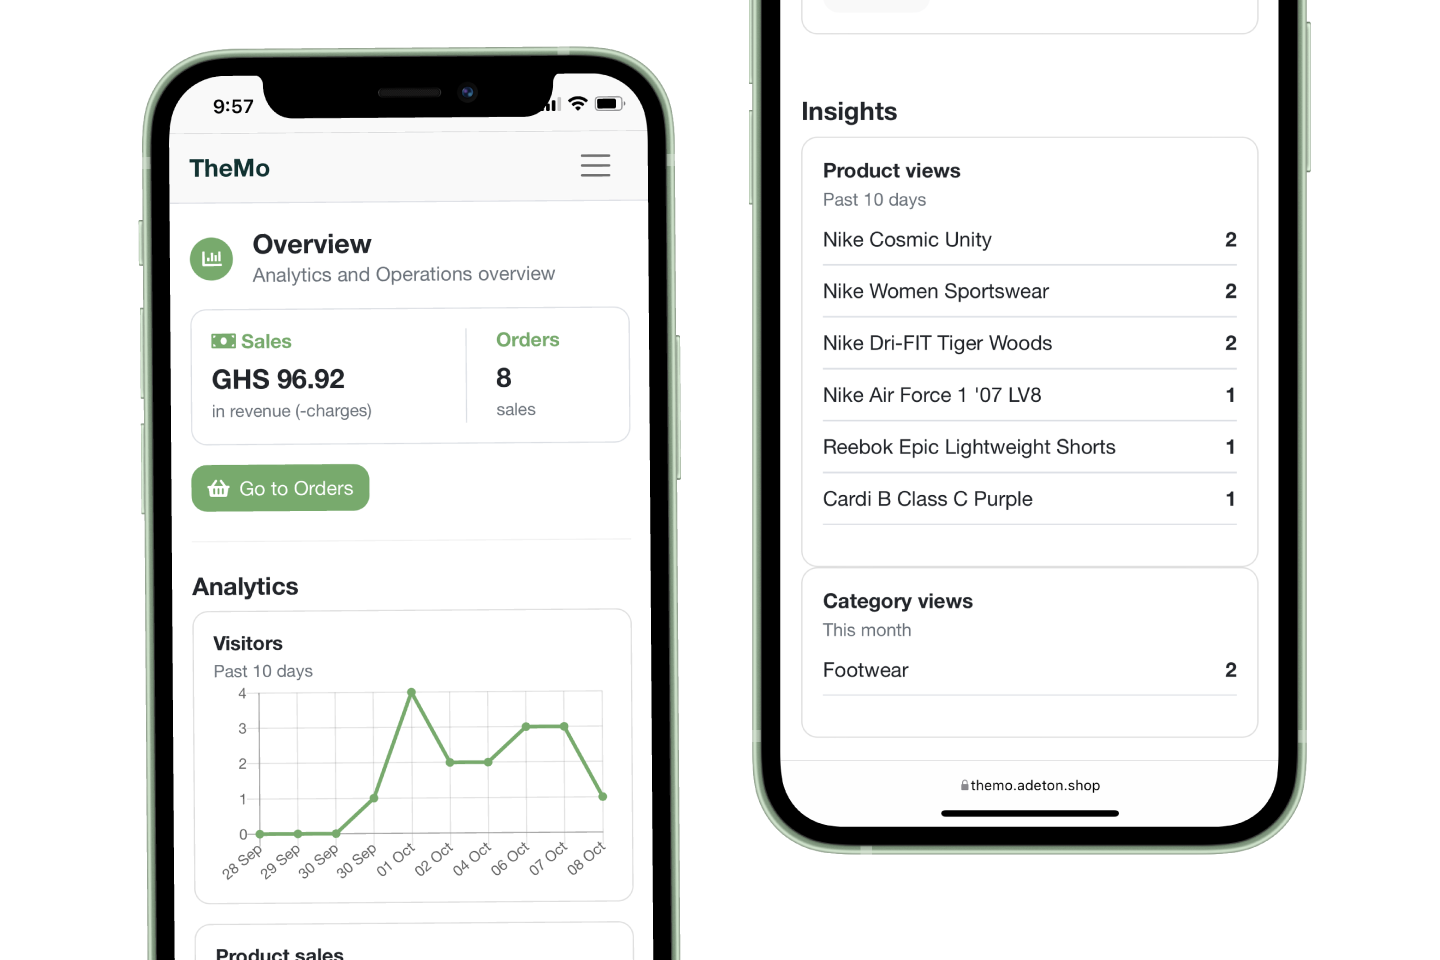
Overview
On this page, you're provided with a summary of the progress of your business. This includes your overall sales, site visits, product/category views and orders. These data, we believe, will help you understand your customers' behavior and help you make better decisions on how to promote your business and what to sell when (for instance).
Products
Your catalog is managed on this page. You can add products and also filter them using controls like Category, Stock Level and Search. Adding a product is easy from here.
Learn about how to How to add a Product
Orders
From here you manage all placed orders. Note that, only paid/valid orders appear here. That is, if payments were successfully received. You can filter the orders based on their status: placed, packaged, on-delivery, packaged and delivered. You can also filter between dates based on the date the order was placed.
On this page you also see how much you have made based on the dates intervals selected.
Read more on Understanding and Handling Orders
Site
You shop's site information are edited here. The logo, banner, shop name, description, address, etc are set here.
Note that, you need to set your shop's address from this page to be able to set up your delivery rates.
Reviews
All submittted reviews from your customers will appear here. Ratings and comments are only allowed from customers that have placed orders.
Discount Codes
If you want to run discount promotions to selected few participants, you can create discount codes from this page. You can set up discount codes as percentage discounts or fixed amount discounts. You can also set up when discount codes expire and how many times a discount code can be used.
Management
You can add other staff members like employees or partners to your site from this page. This is done by inviting them by email and setting their administration level: Manager, Administrator and Shop Keeper. You can remove or revoke staff members any time.
Settings
This is where your shop and site's configuration lives. It has different sections to set up various aspect of your shop/site. The following are details on the various sections:
Payment
You set your settlement account here. You first select your bank or Mobile Money provider and then provide your account number. If you choose to use Mobile Money (MTN, Vodafone, Airtel/Tigo), provide your phone number as the account number.
Brand & Theming
By default we set the colors of every site to green (nature 😊). But this may conflict with your brand color choices. You can select your favorite colors from this page to match your brand, and this will be applied through out your site.
Facebook/Instagram Integration
To complete your Instagram shopping application process, you need to provide the head meta value here. More on this here: Setting up Instagram shopping
Delivery
Set up your delivery/dispatch and pick-up options from here. By default only pick-up delivery option is enabled. You can enable Local Delivery to allow customers to provide their (GPS) location when placing orders. After enabling Local Delivery, you will be able to set up your rates by tapping Set up local delivery & rates.
Learn about how to How to set up delivery and rates
Returns & Refund
If your business allows returns and refunds, you can enable that here. You can also provide your terms for making returns/refunds here. Note that this is only informational and becomes useful in addressing disputes with customers. Be clear in your terms and make sure all possible cases are accounted for.
Open/Close Times
You set your business hours here. However for days you are unavailable (for example, holidays or weekends) you can simply toggle off the Working checkbox. Orders will be allowed only when they are being made between open and close times for working (enabled) days.